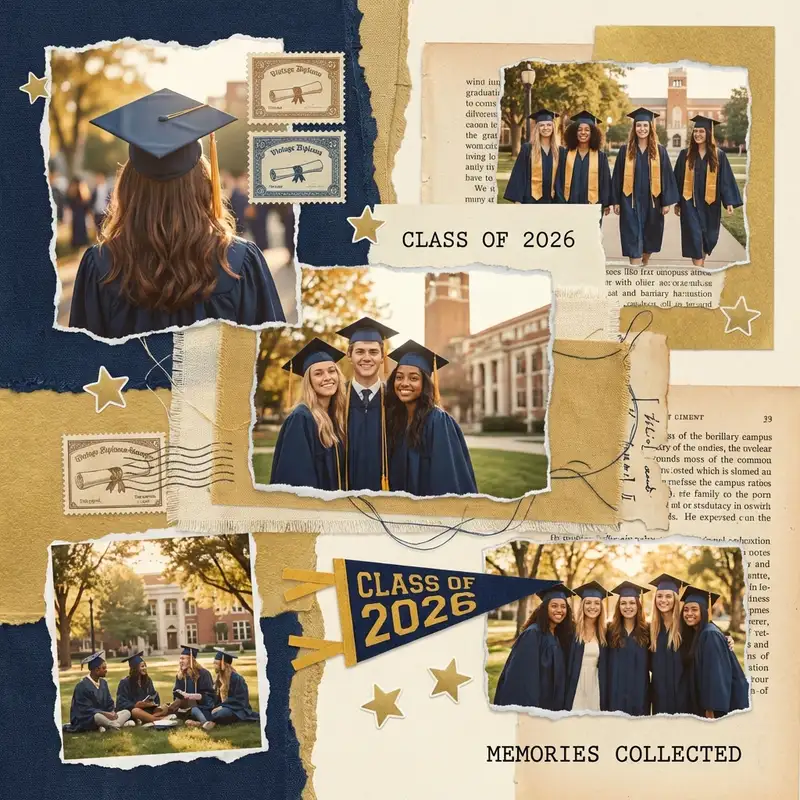
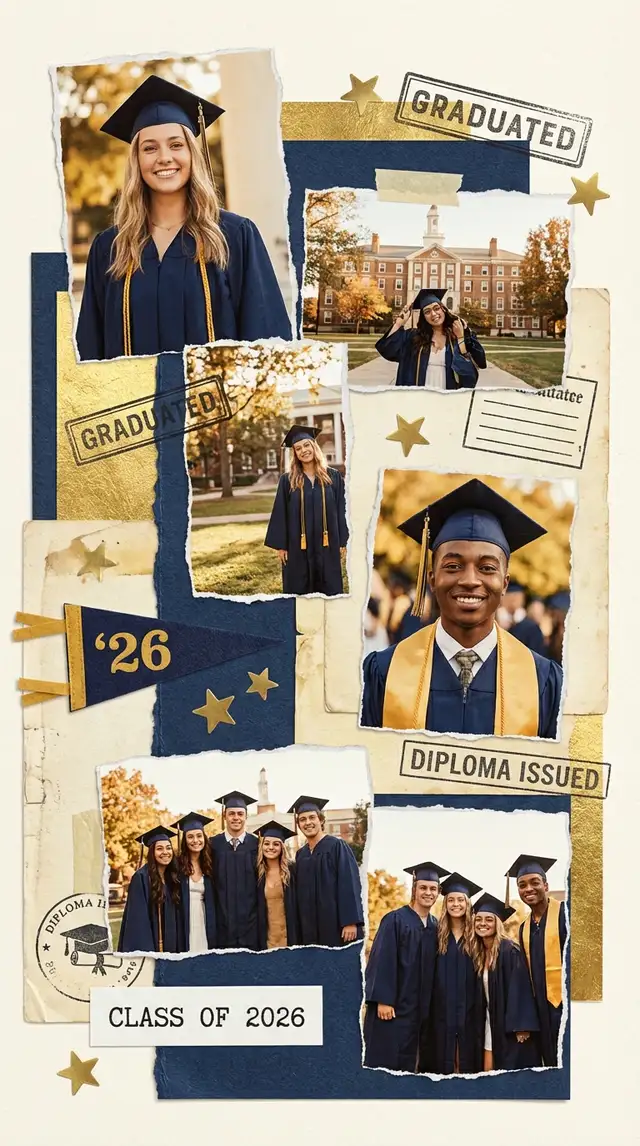
Graduation Memory Board
Four years compressed into one frame -- the late nights, the people, the becoming.

Ingredients
- 6-10 photos spanning the school years (freshman move-in through cap-and-gown day)
- 2-3 group shots with friends
- 1-2 solo portraits (one candid, one in regalia)
- 1 campus or location shot that grounds the story in place
- A bold sans-serif font for the graduation year
- Stickers from the Sticker Library -- stars, pennant flags, confetti, or school-themed accents
- Background in school colors, white, or soft sage
- Optional: photos of ticket stubs, event programs, or dorm room snapshots
Steps
-
Open Freestyle for scrapbook energy
Tap Freestyle to start with a blank canvas. A grid feels too structured for graduation memories -- you want the freedom to scatter, overlap, and layer like a real memory board. Set the canvas to square or 4:5, depending on where this will live.
-
Use Magic Cutout on the cap toss
Find your best cap-in-the-air or celebration photo and run Magic Cutout on it. Isolate the figure and place it prominently on the canvas -- this becomes your hero moment, floating free without any background clutter. Resize it large and position it slightly off-center.
-
Scatter the rest of the memories
Import 5-9 more photos and arrange them around your hero image at slight angles. Overlap edges casually. Mix sizes freely -- the grainy dorm selfie can be small, the golden-hour campus shot can spread wide. Let each photo breathe without locking into a rigid pattern.
-
Set the background to school colors
Tap Backgrounds and choose a solid color in your school's palette -- navy, crimson, forest green. If the full color feels intense, try a desaturated or pastel version. Search the Sticker Library for a subtle texture or confetti pattern to layer on top.
-
Anchor with the year and decorate
Tap Text and type the graduation year in large, bold sans-serif type. Place it behind the photos as a watermark or let it stand proud in a corner. Open the Sticker Library for stars, pennant flags, or small celebratory accents. Tuck them into the gaps between photos -- enough to feel festive, not cluttered.
-
Unify the tones and save
Tap each photo and use Photo Editing to nudge warmth up and pull saturation down slightly. Four years of different cameras and lighting need a shared tonal family. Save at full resolution -- and if the grad deserves extra, use Animation to make the photos appear one by one and share as a video.
Variations
Minimal Poster Version
Open a Grid layout with 2x2 cells. Use only 3-4 photos on a stark white background with the graduation year in oversized black text. Let negative space do the talking. Save at high resolution for printing as an 18x24 poster.
Friend Group Version
Center the collage around one group and their shared moments. Use Magic Cutout to lift each person out and arrange them together on a fresh background. Add each person's name in small handwritten type nearby. Makes a meaningful graduation gift for the whole crew.
Social Media Celebration
Design as a single square image for Instagram. Use a bold school-color background, one hero photo, the year in large type, and a handful of stickers. Share it on graduation day with a caption that does the rest.
Tips
- Photos don't need to be high quality -- grainy phone shots from freshman year add authenticity
- Leave 30% of the canvas empty; graduation collages get cluttered fast
- Magic Cutout works especially well on cap-and-gown photos where the silhouette is distinct
- Export as both a still image and an animated video -- the video version travels well on TikTok and Instagram Stories
You might also like

Baby's First Year Photo Collage
Twelve months fit in your arms for such a short time, but they can live on a single page forever.

Best Friend Photo Collage Gift
The friendship recap nobody asked for but everyone cries over -- from the first terrible selfie to last weekend's proof that nothing has changed.

Pet Photo Collage
They will never know you made this -- but you will know, and that is the whole point of loving something this ridiculous and perfect.

Birthday Collage for Mom
A warm, heartfelt collage that says everything a card can't -- the kind of thing she'll screenshot, print, and keep on the fridge until the edges curl.